Plasma Tube
First, the end result:
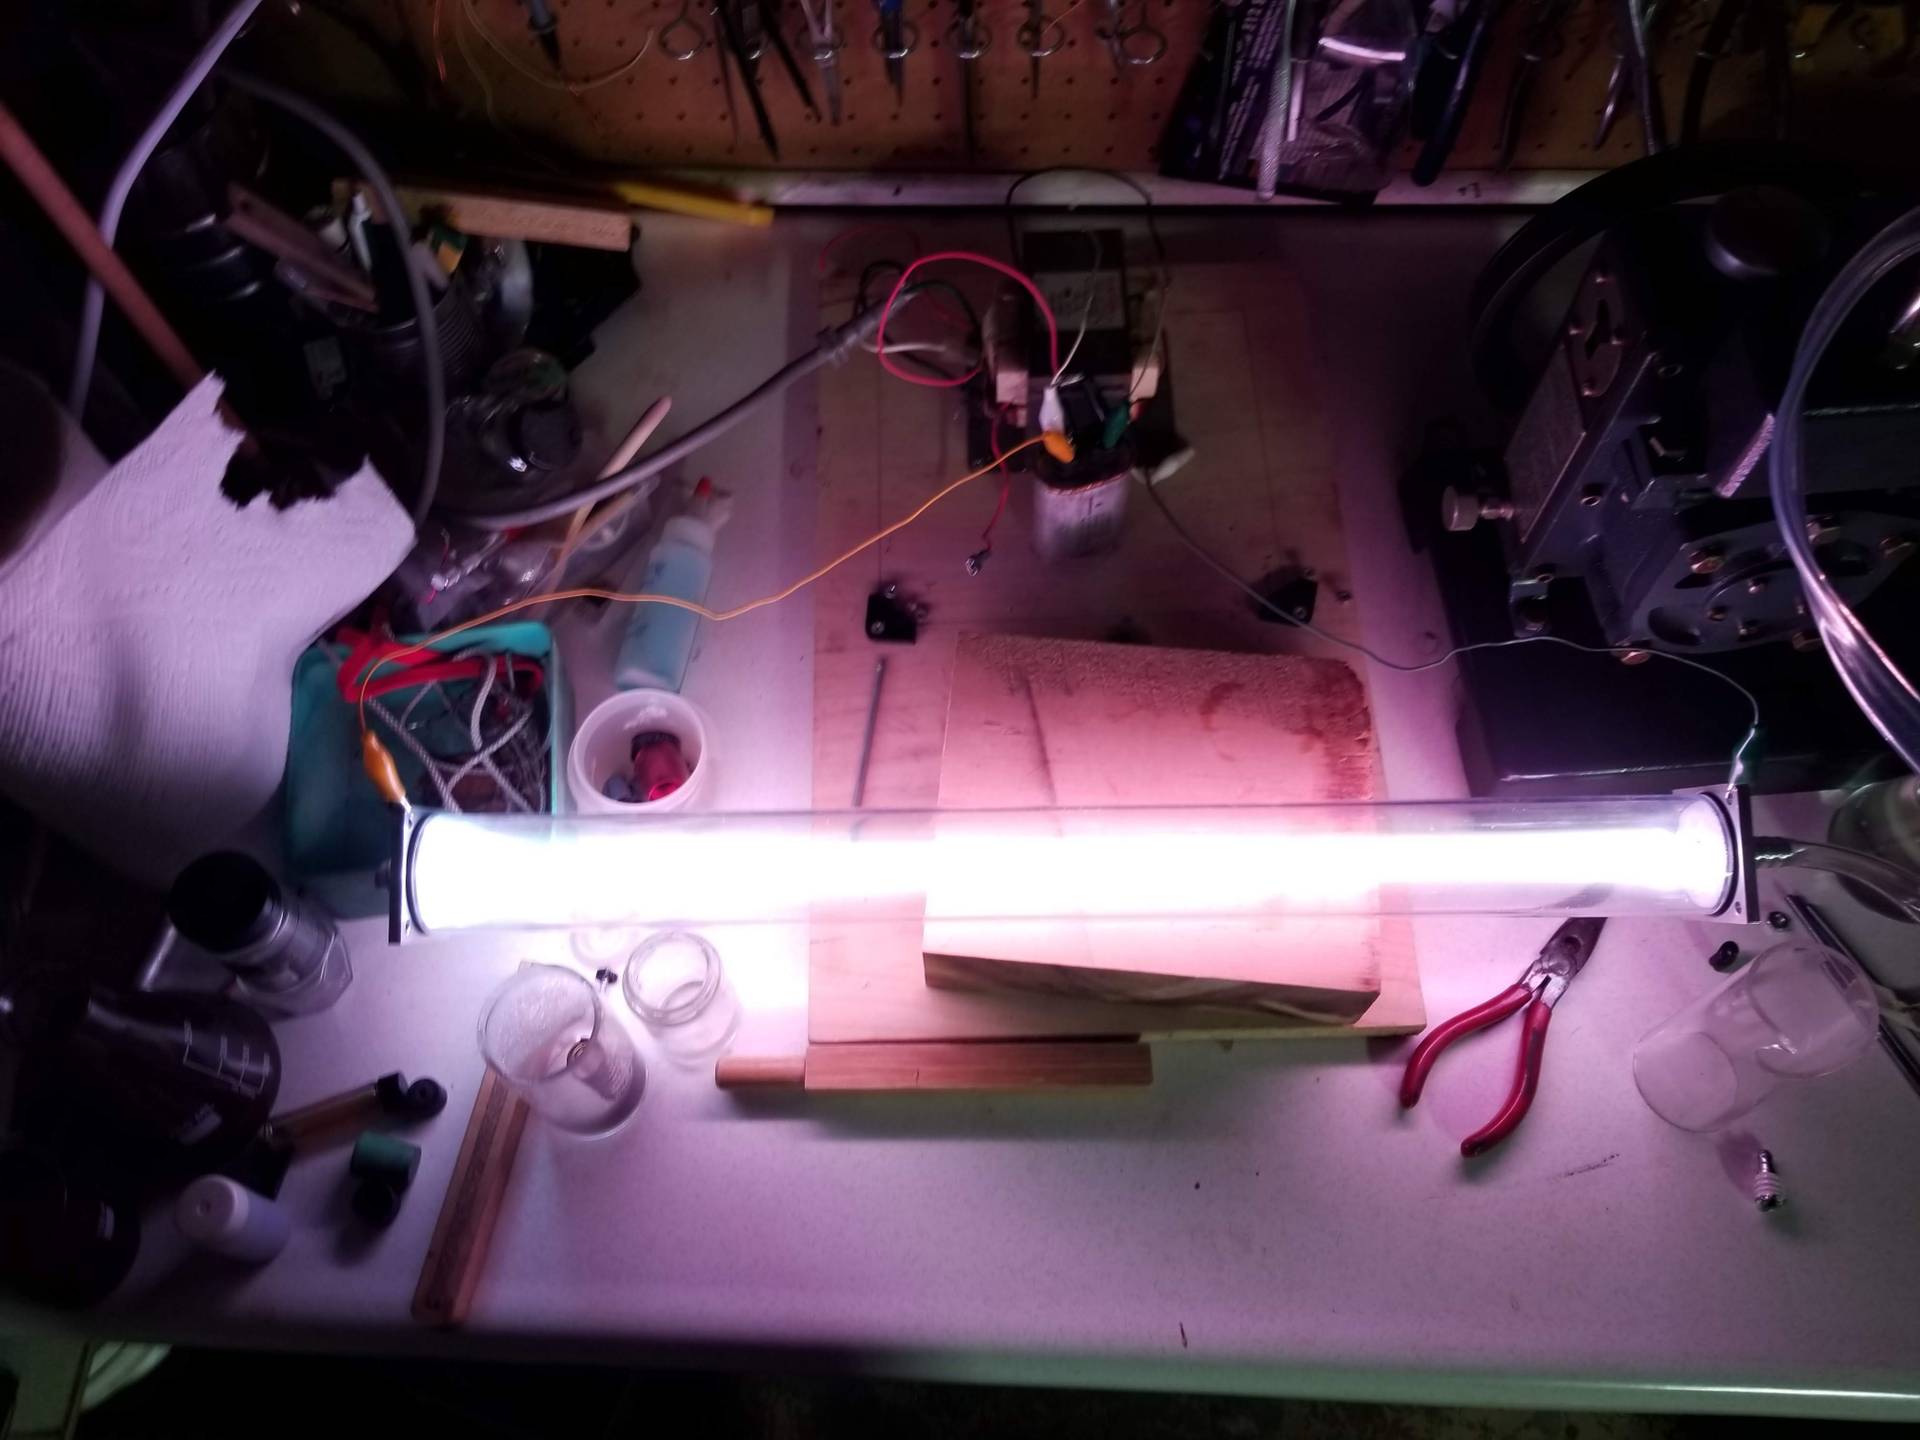
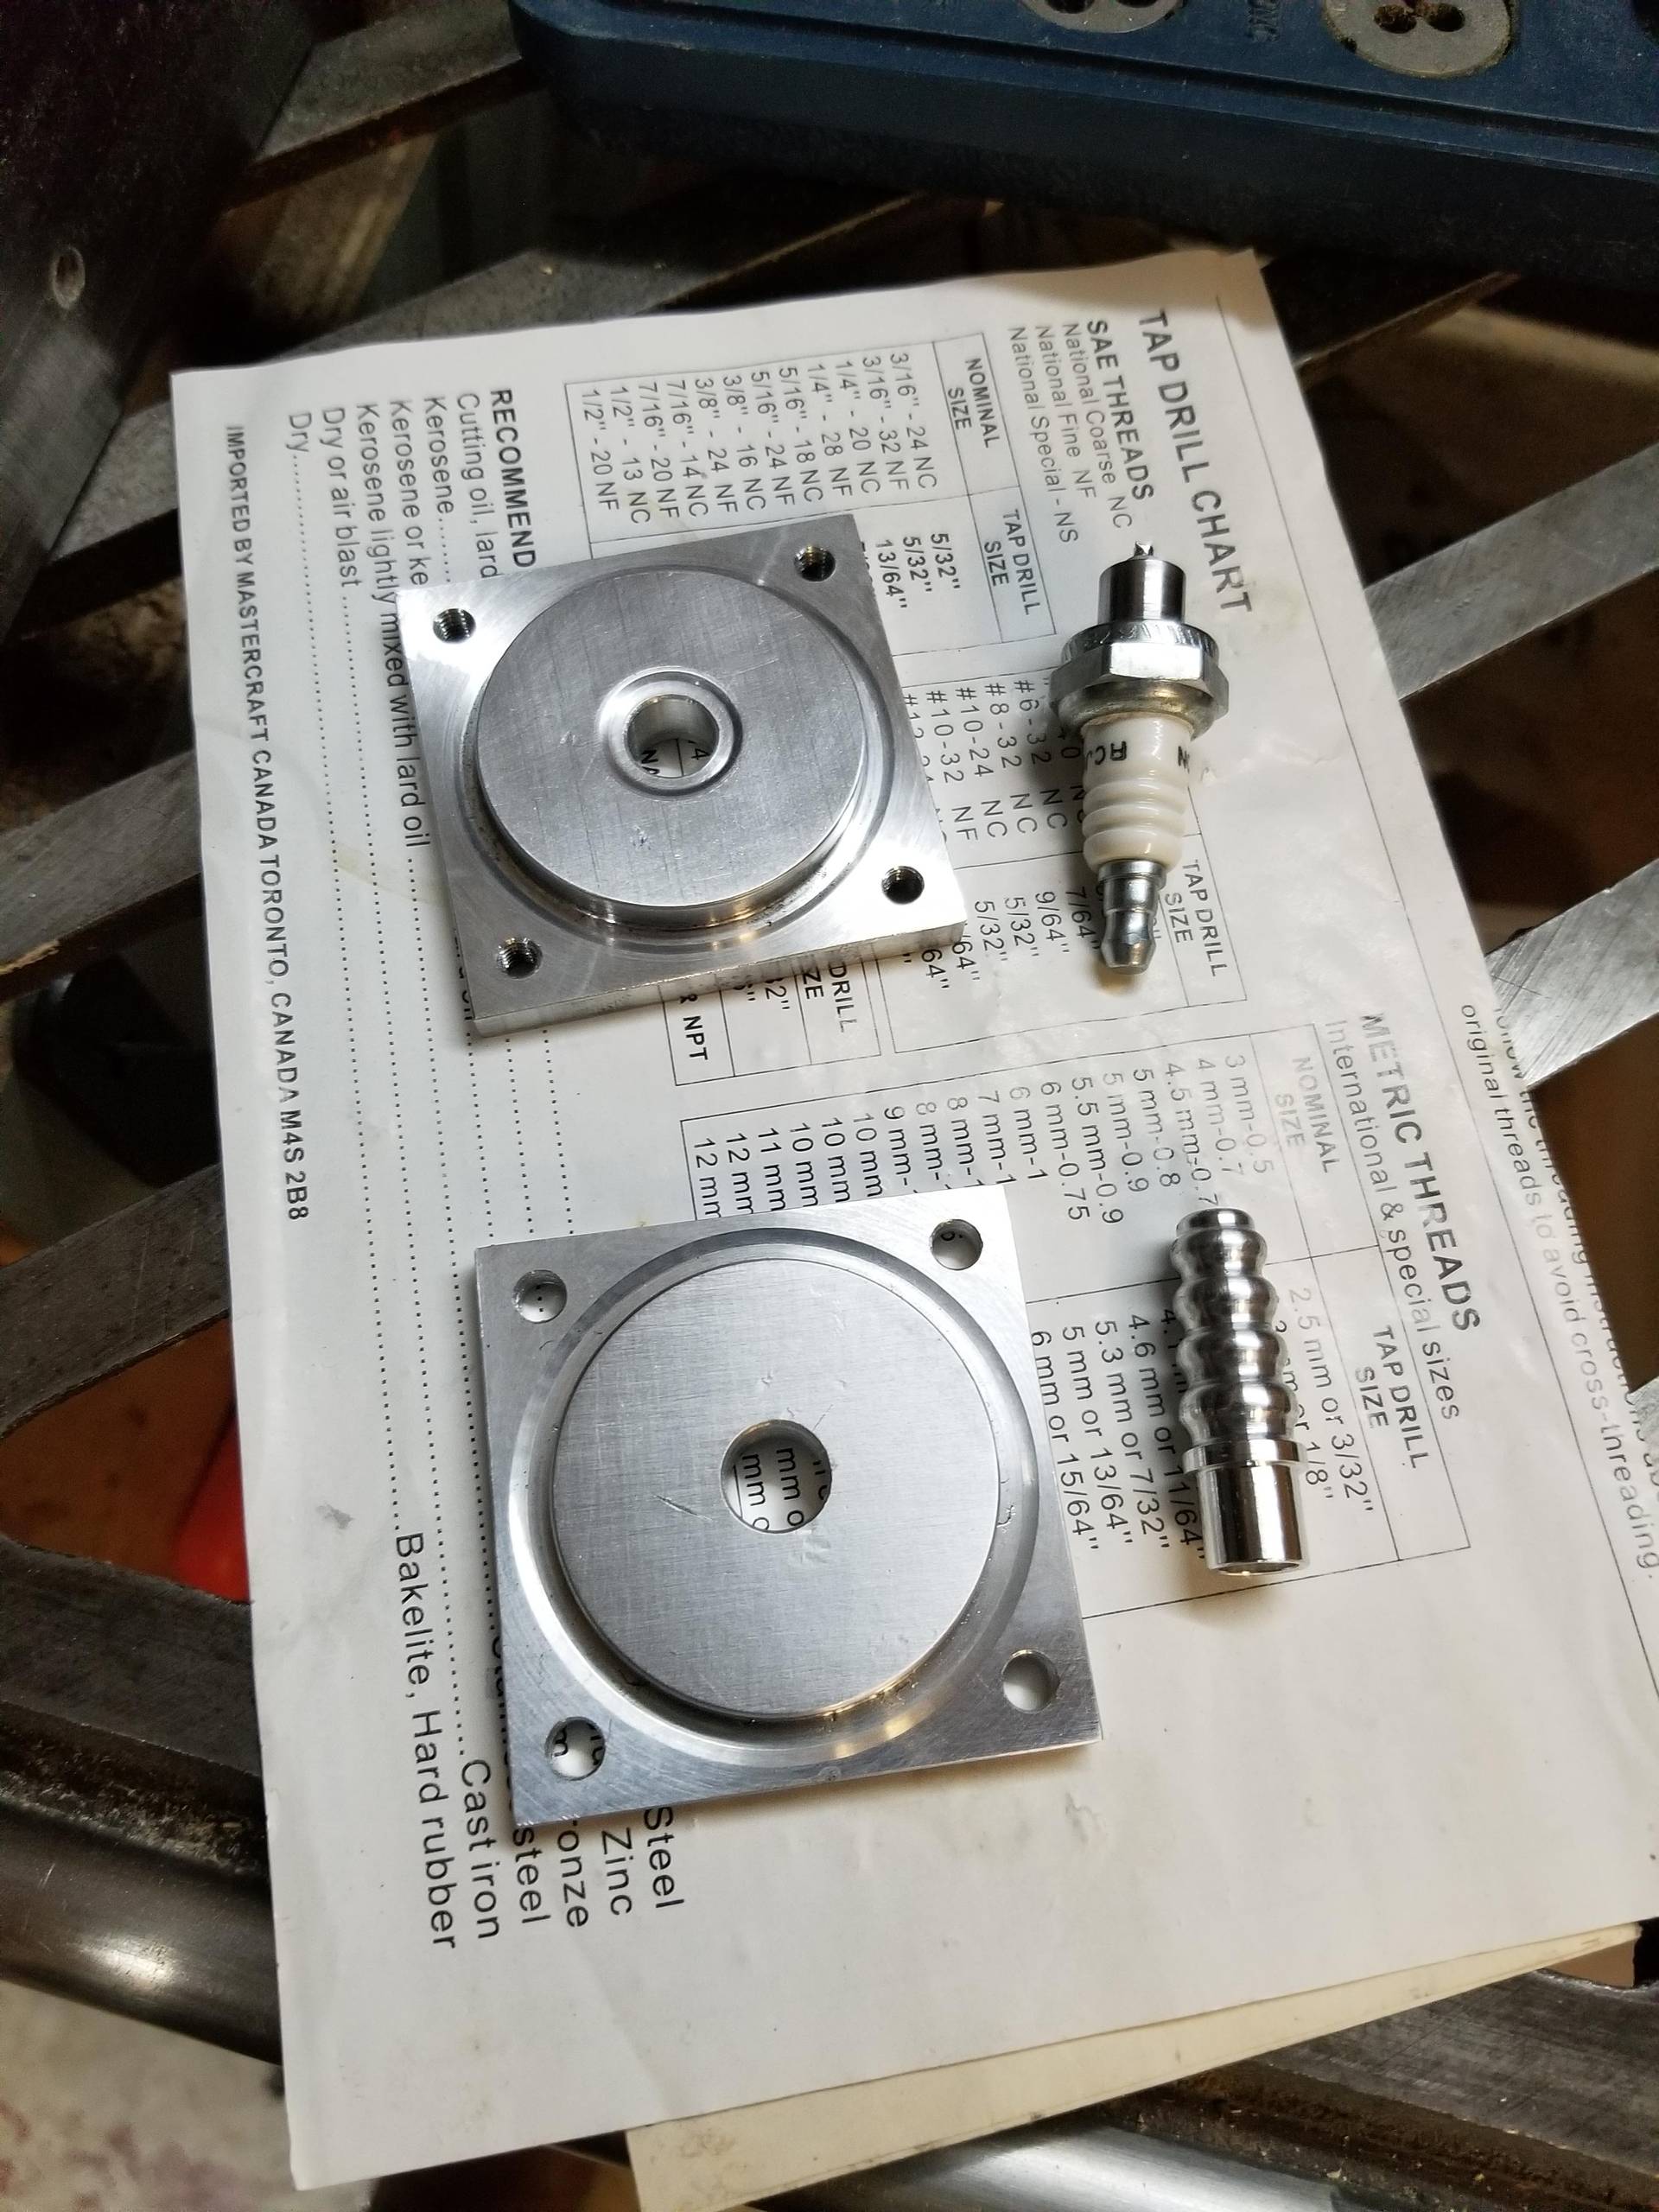
The fourth state of matter is surprisingly within reach. With an old microwave transformer and vacuum pump I was able to hack together a surprisingly impressive display. The first design was an acrilic tube (~1.5 inch ID and 6 inch long), two aluminum end caps with o-rings and M5 threaded rod to hold everything together. The top plate has a vacuum inlet, and the bottom plate has a sparkplug that acts as a high voltage feedthrough.
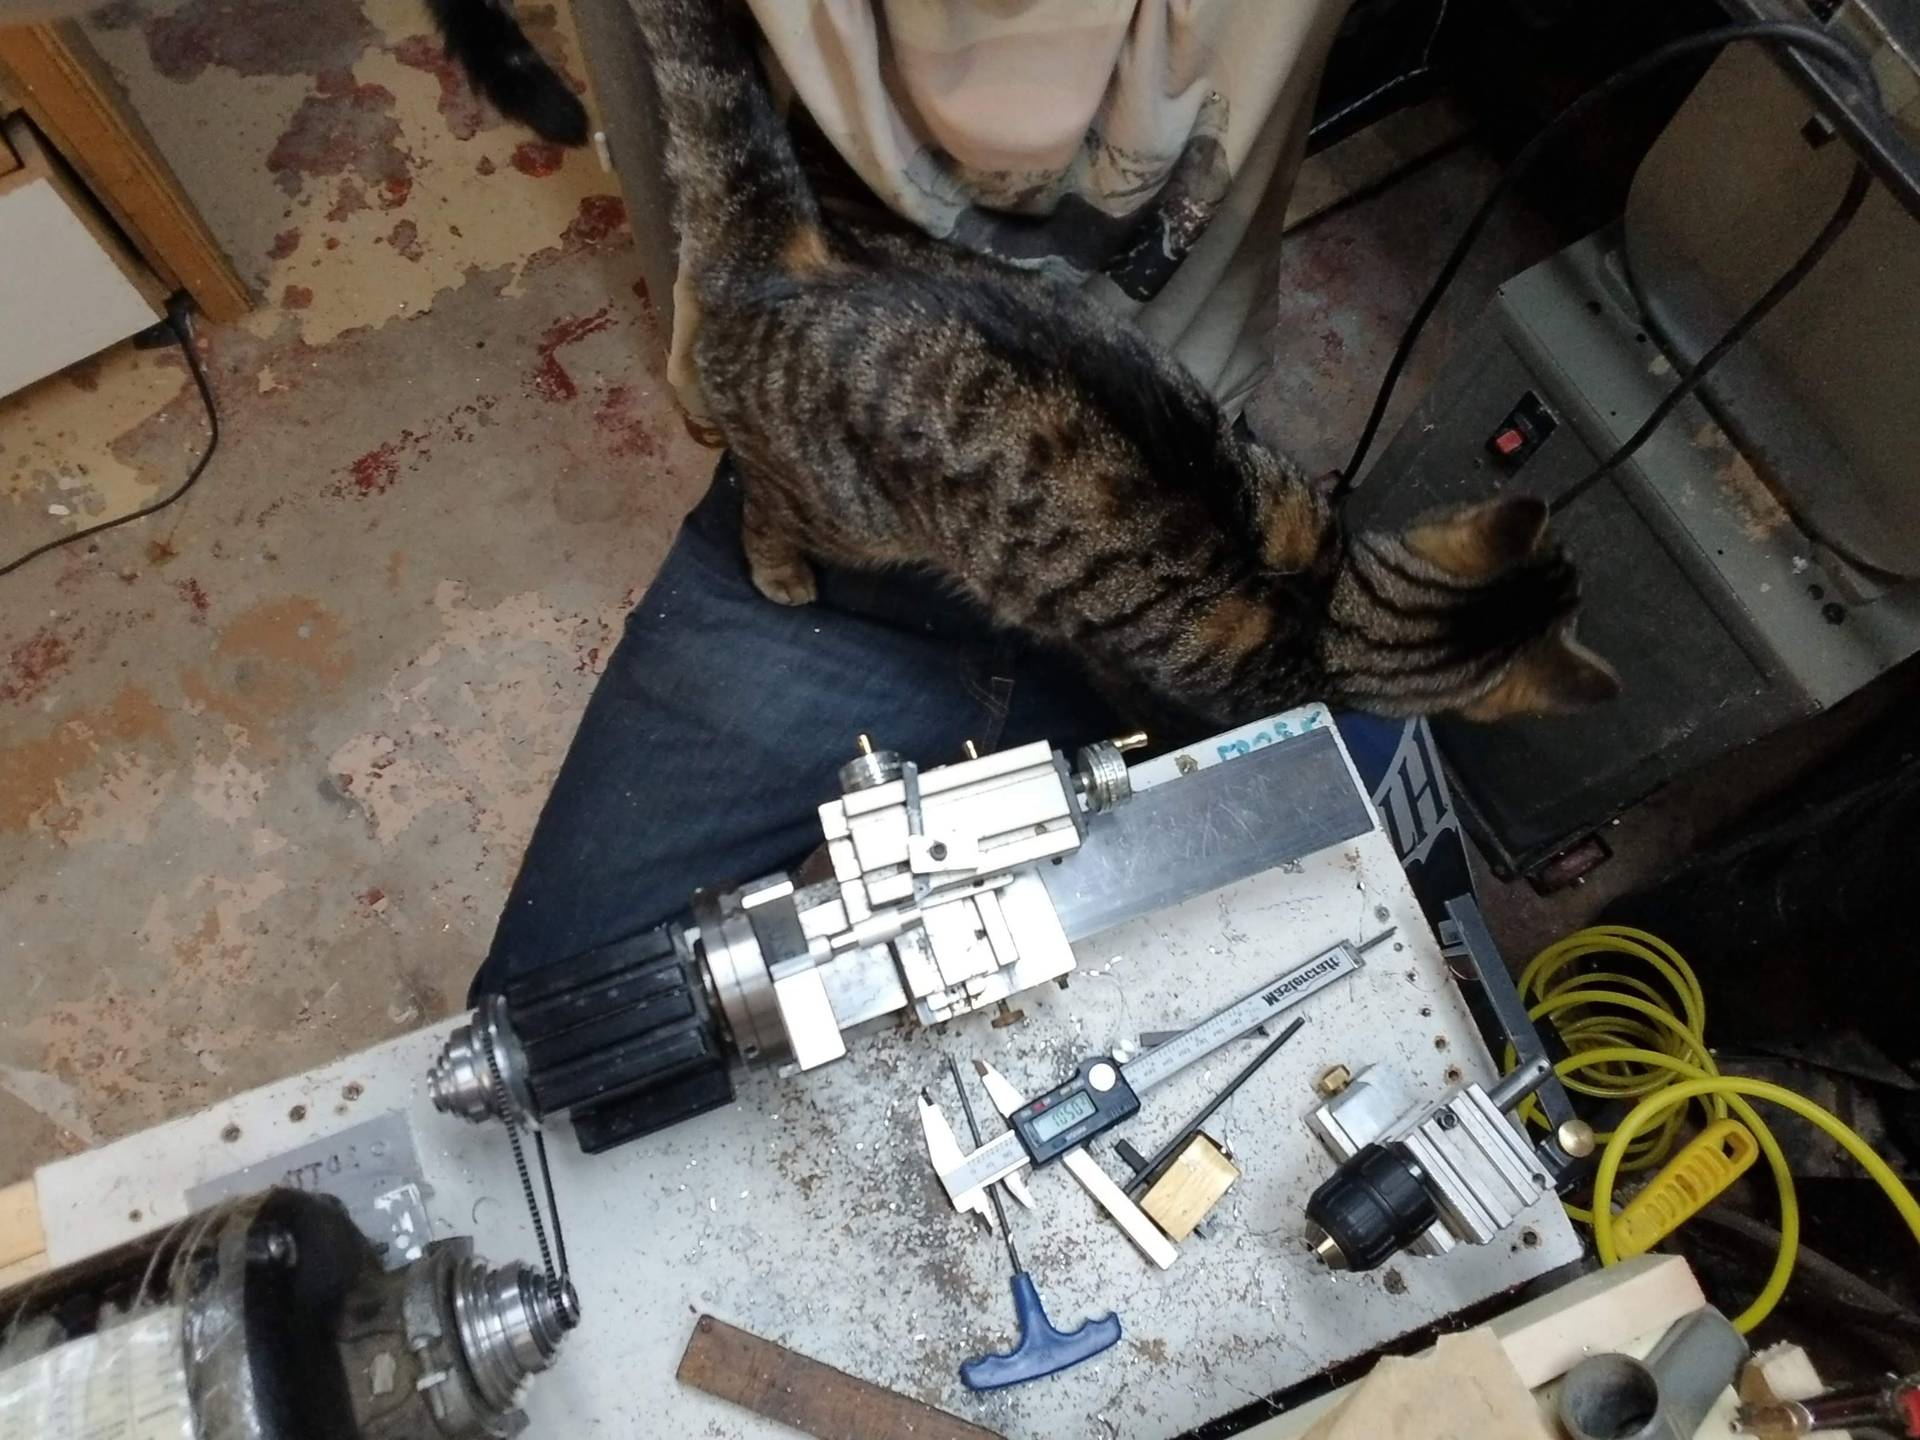
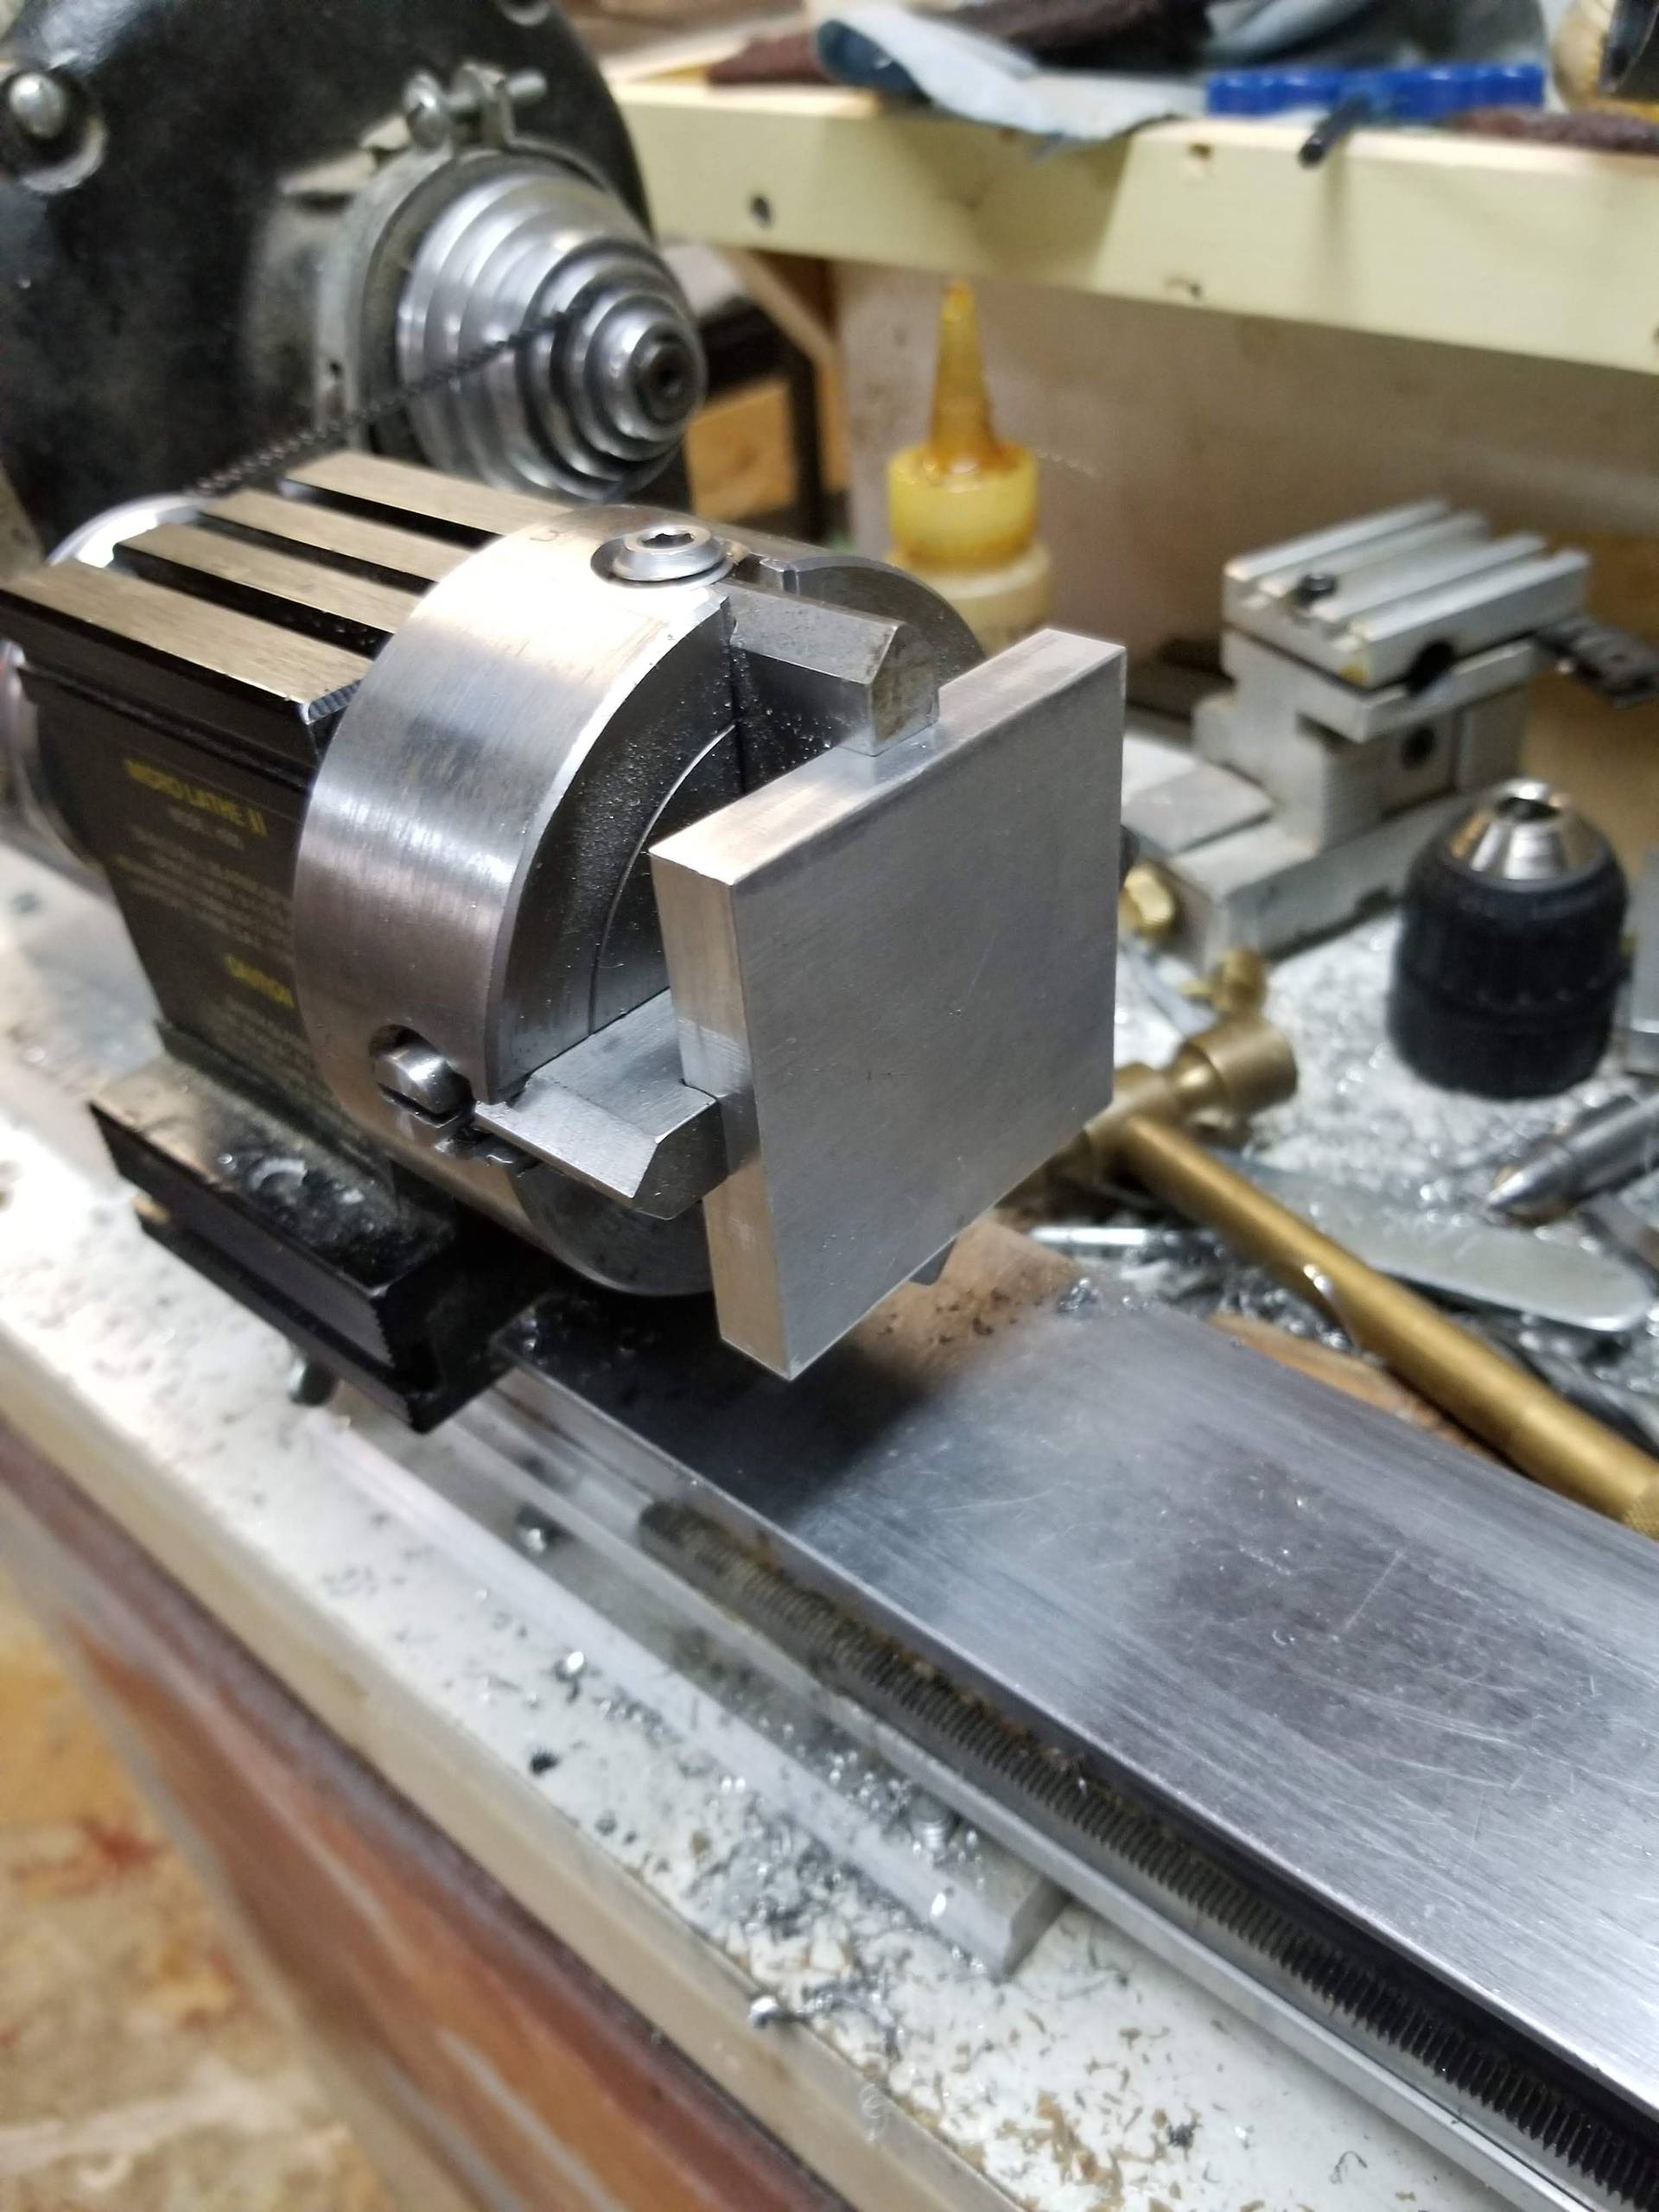
Making the endcaps actually took the longest because the four jaw chuck for the Taig lathe was broken. It had been dropped earlier and a section of the thread on the cast iron jaw had broken and was caught in the adjustment threads. It wasn’t possible to extract it and eventually I sheared the adjustment screw. Luckily that gave me access to the internals so i could clear out the blockage with a pick, cut out a slot in the broken screw and extract everything. I then had to make a new adjustment screw using the three jaw chuck.
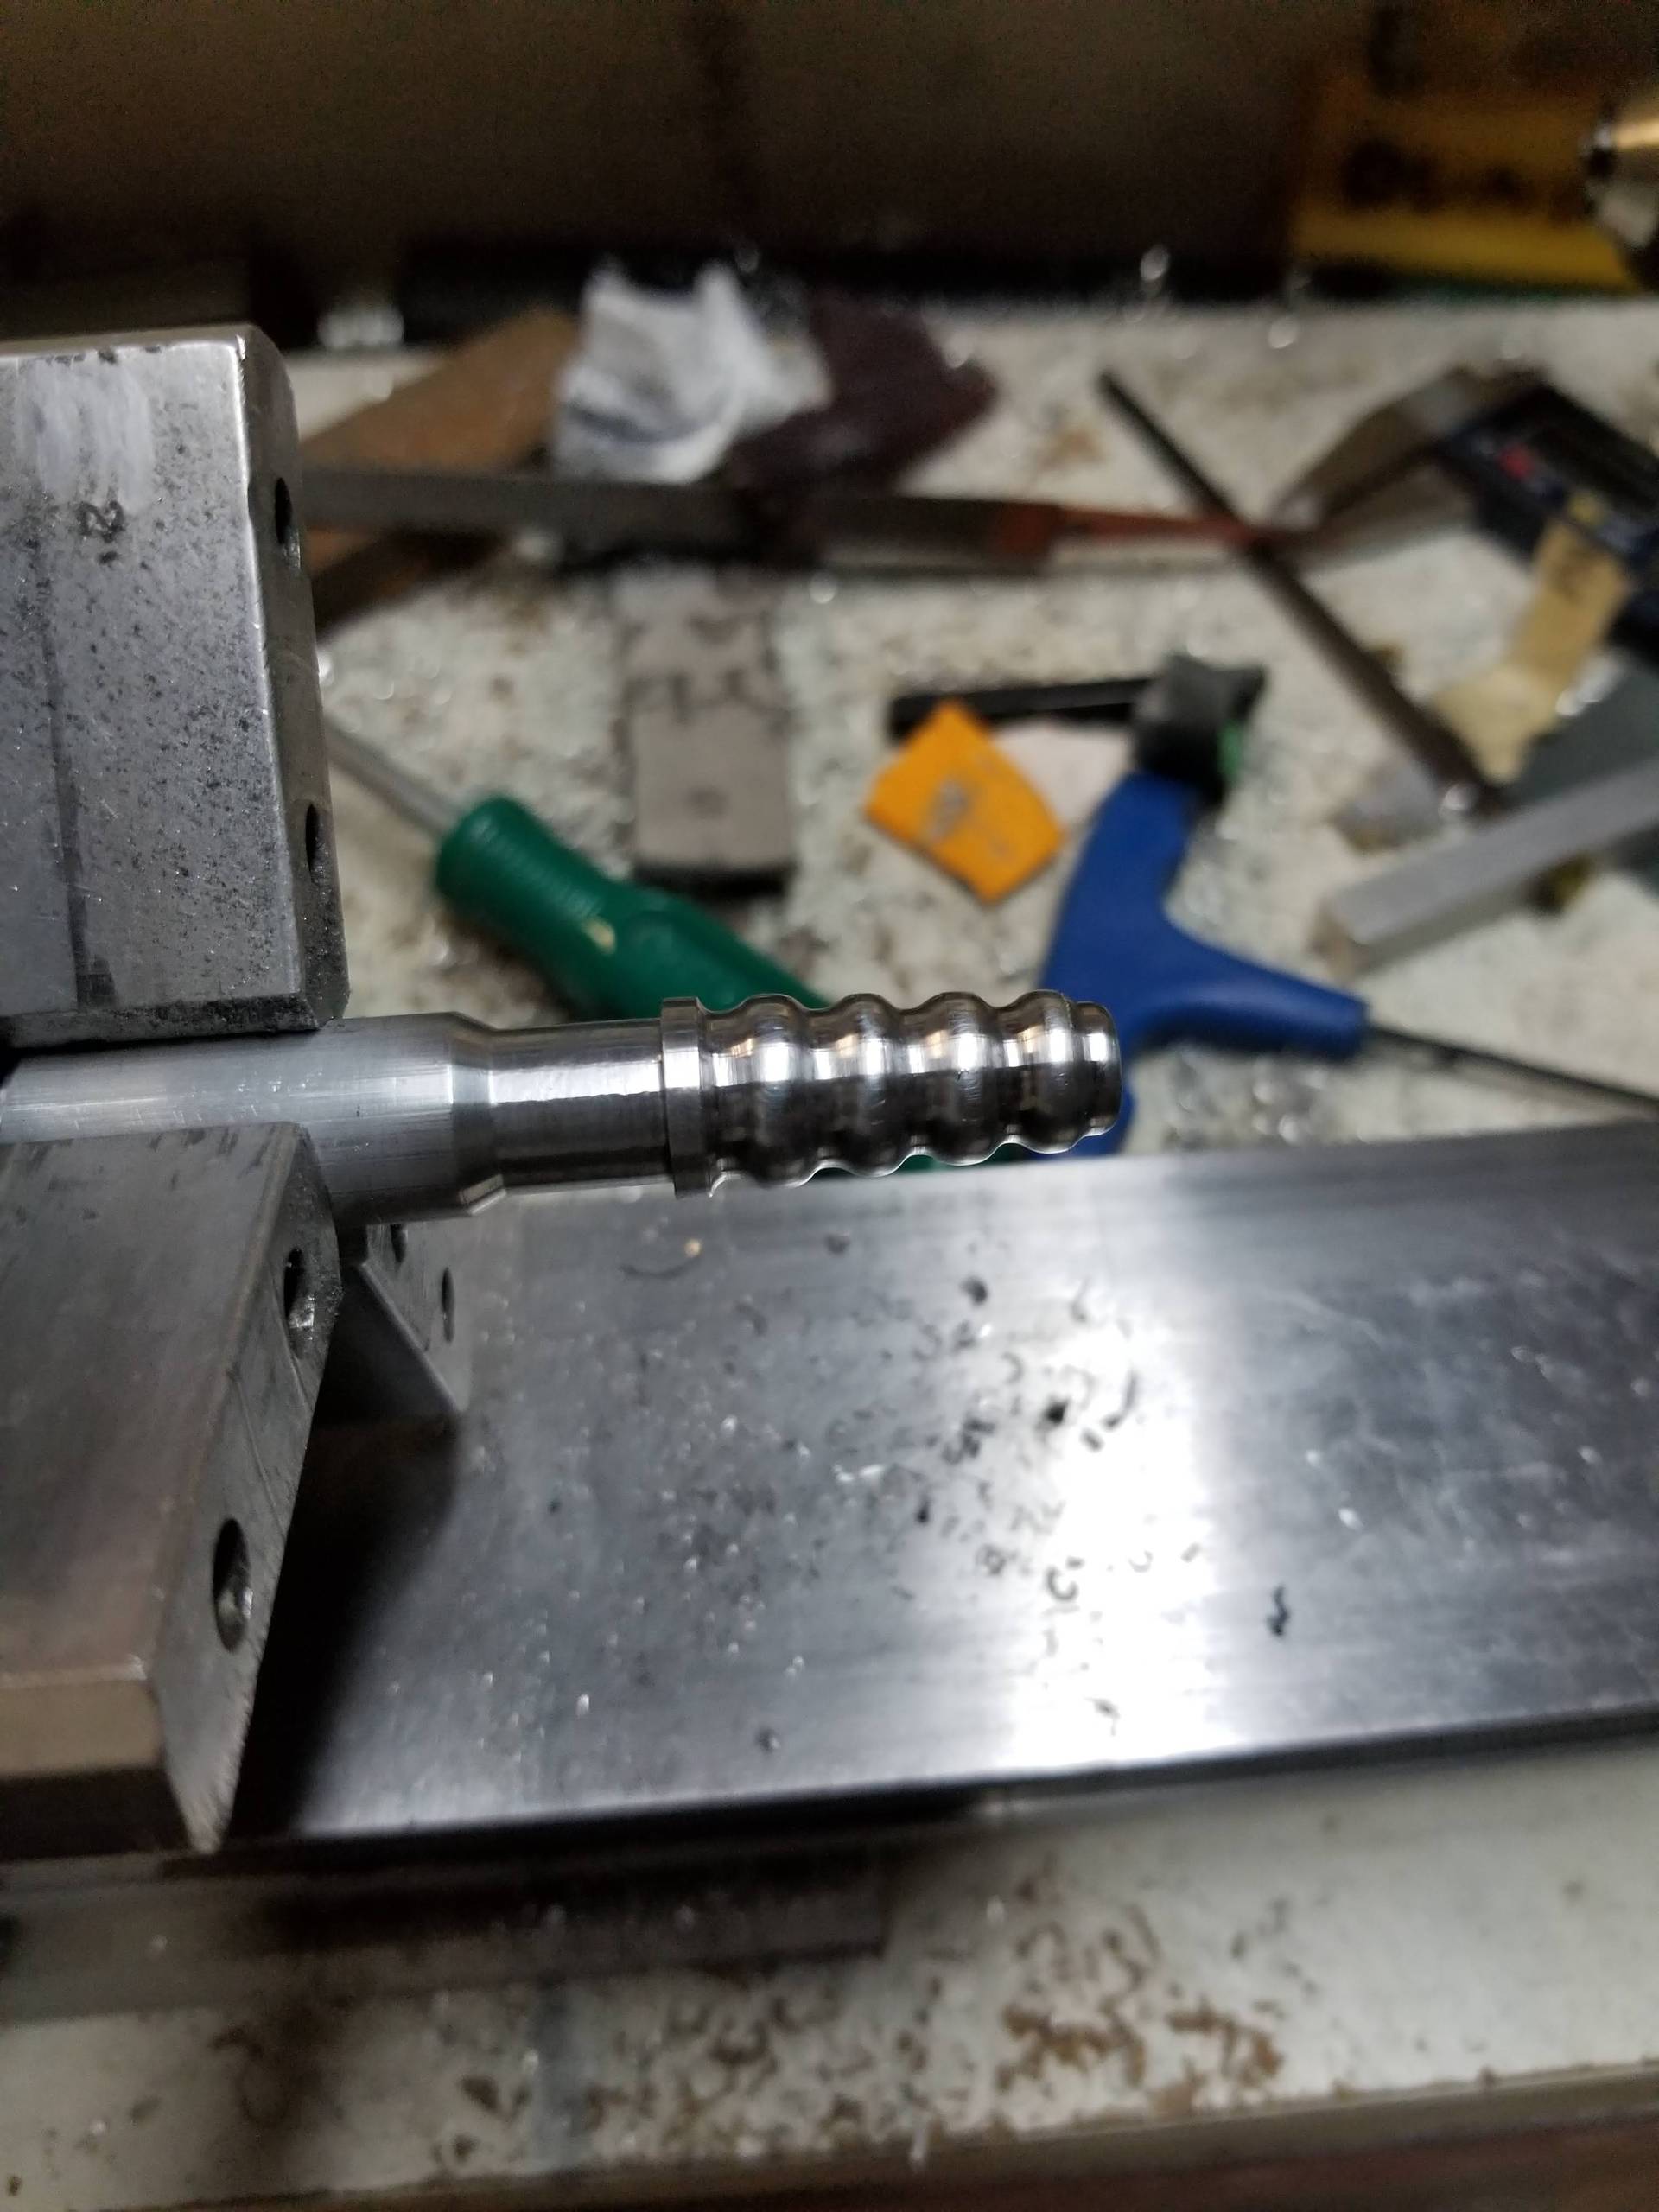
With all the necessary tools the endcaps were quick. I then made a vacuum hose fitting. For simplicity, I decided on a slip fit and epoxy to attached it to the endcap. I roughed out the shape with the taper attachement and then eyeballed the rest. I made sure to polish well to acheive a good seal on the tube.